
At an impressive 5 feet tall and 4 feet wide this dolls house is truly something to behold. Have a look at its journey with us below.
A brief history
Made from pinewood, this dolls house comprises of 9 rooms (now 10 with its newly converted attic), beautiful handcrafted staircases, and many portraits and pictures scatter its walls. It is difficult to pinpoint the exact age as there is not much history available online. One of the portraits however has the date ‘1906’ scribbled on the back. The house - now affectionately known as the Tolstoy House after its former owner Alexandra Tolstoy - was bought at auction by its new owner in 2020, and came to us for renovation in March 2021.
An early design of the kitchen
Designing
Designing is an important part of the process. After being given some initial ideas and a general theme, we got to work. With regular input from our client, we were able to collaborate and come up with something fitting for the character of the house, and also to the family it would be living with. Here is an early design of the kitchen; you’ll see later on how the design was changed slightly, which is often the case as a restoration progresses.

The first stage of any renovation is to strip the dolls house back to a blank canvas, ready for decorating.

A revised design of the kitchen. This kitchen had several changes and adjustments until we arrived at what you see today.

Planning and building phase. We put in a new back wall so we could create the pantry and wine rack.

Starting to take shape!

The comepleted wine rack and pantry.

The first completed room of the house - time to stock up the pantry and get dinner on the go...
-

Stripping & priming process
-

Planning the library gallery
-

Early stages of hallway restoration
-

Making the bathroom panels
The Library
Complete with spiral staircase, real crystal chandelier, taxidermy wall features and even a secret passage… This room was one of the most challenging (which we relished, of course). Take a look below for some insight into the designing and building of this room.

How the room looked before. Early stages of the stripping process have started.

A very early design of the library, originally there was to be one large floor to ceiling bookcase that opens to reveal a secret passage.
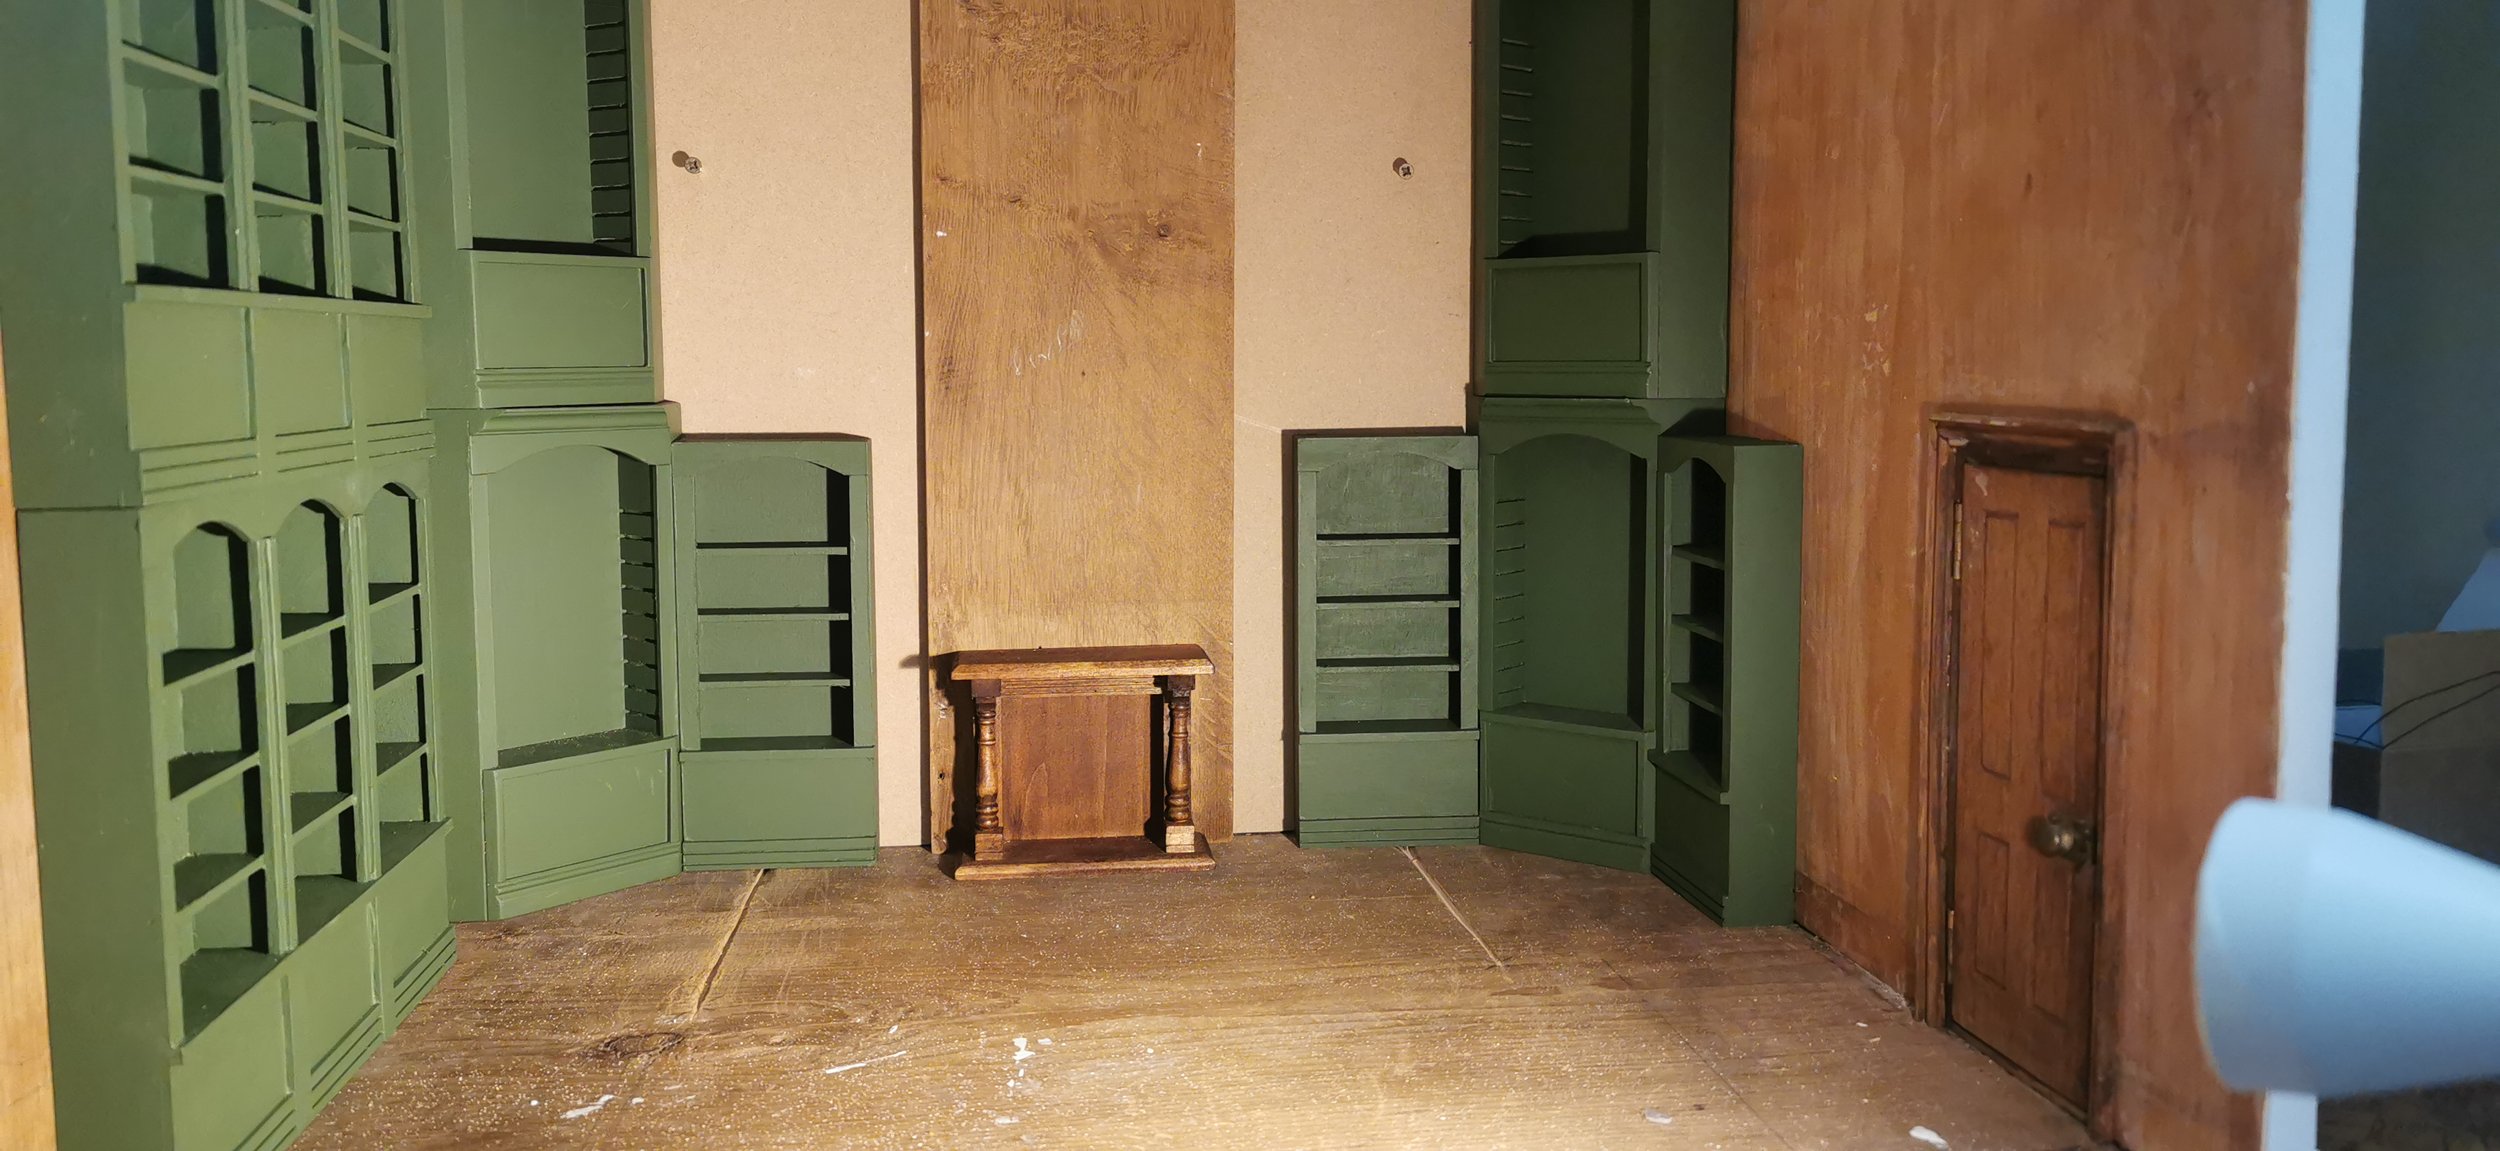
Go big or go home, right? More bookcases were introduced for a grander appearance, and then later the idea for a second level, a gallery, came about.

Creating false steps and laying the flooring for the secret passage.
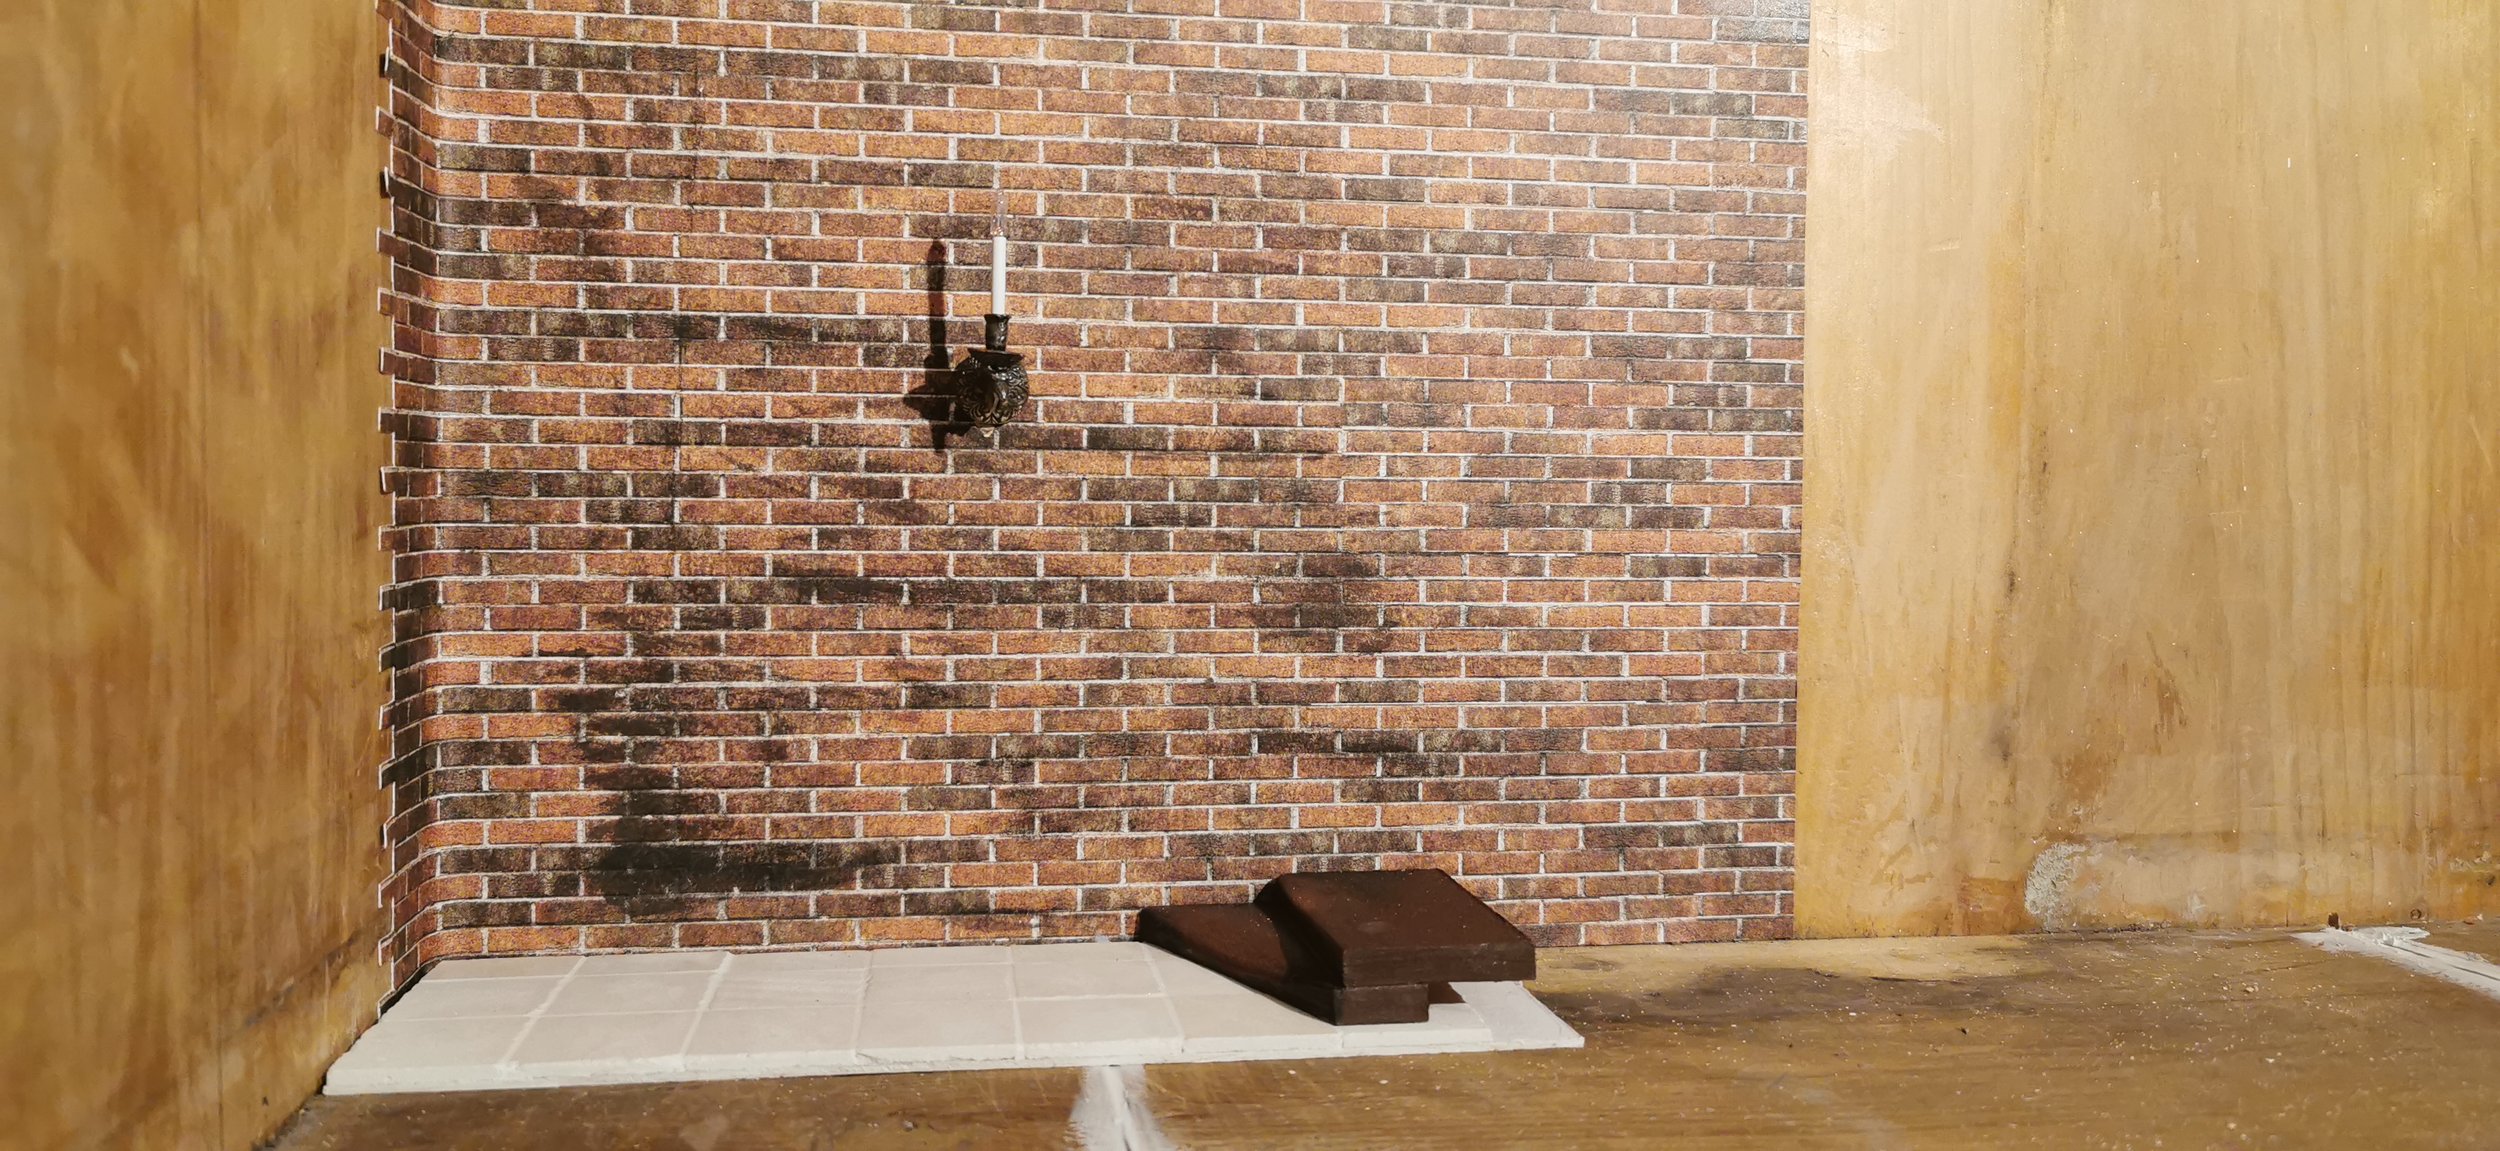
The secret passage looking not so secret in its early design days.

Getting a feel for how it would appear and fit together.

1 of 3 taxidermy features from 'Literature in Miniature'.

Planning out the shape of the gallery. We had to fit the gallery to the bookcases and the railings.

Creating a ledge for the railings to sit on for more stability.
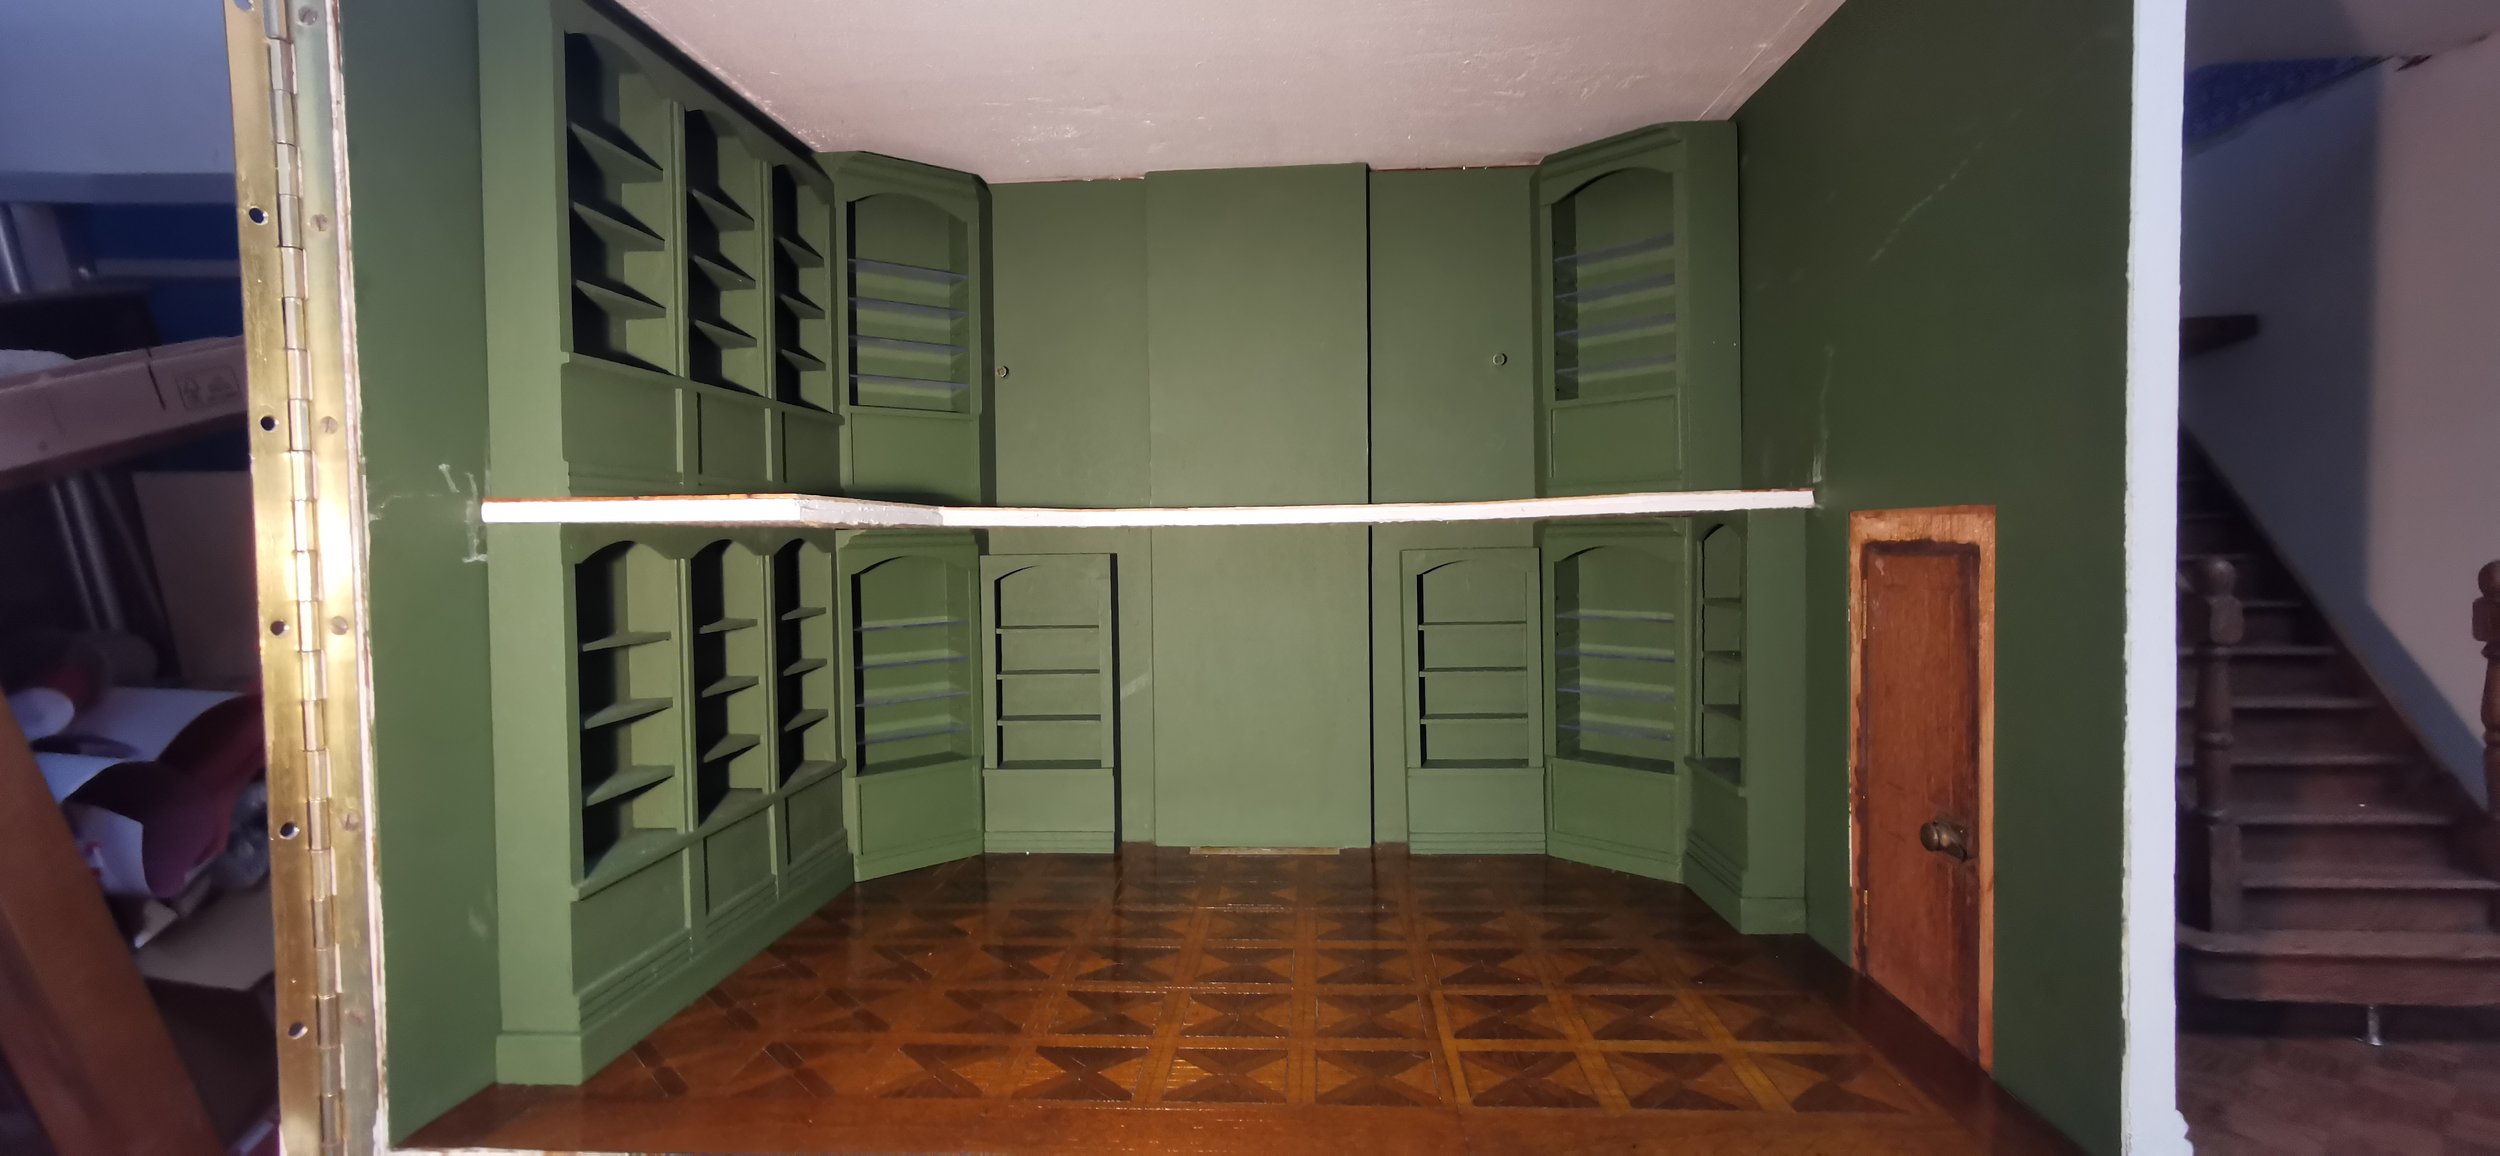
Moment of truth... it fits!

Holding the railings in place during the glueing process. You can see we've come a bit further than the last photo, with back wall lighting installed and ceiling panel in place.

Three weeks of head scratching and out of the box thinking later... All complete apart from staircase, a puzzle all by itself.
-

5 of the rooms feature real wood parquet and herringbone flooring.
-

Each floor is like a puzzle, made up of hundreds of tiny pieces.
-

There are a lot of alterations and trimming that needs to be done throughout to ensure everything fits together how it should.
-

Once together its time for the staining and polishing. This happens over the course of several days and each floor has around 300 coats of french polish. Yes, three zero zero!
The Theatre
This roof was once an empty space, but empty spaces and blank canvases lead way for the imagination to create something special.
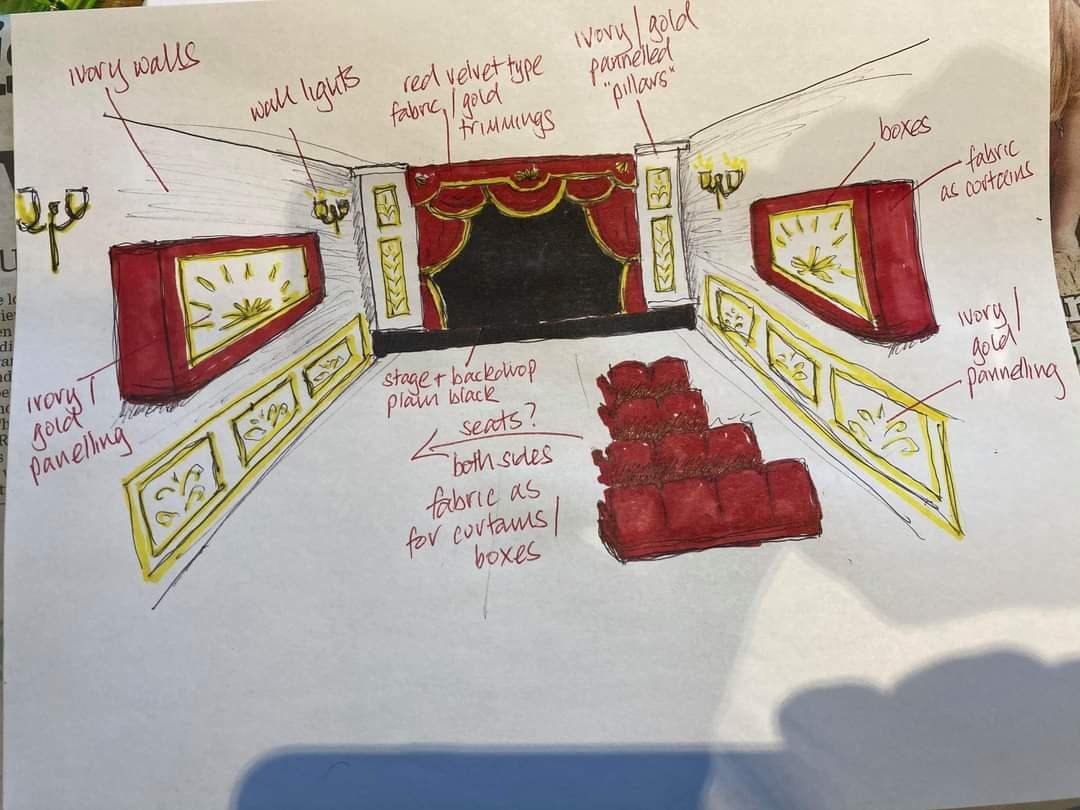
Original theatre concept

Early stage design
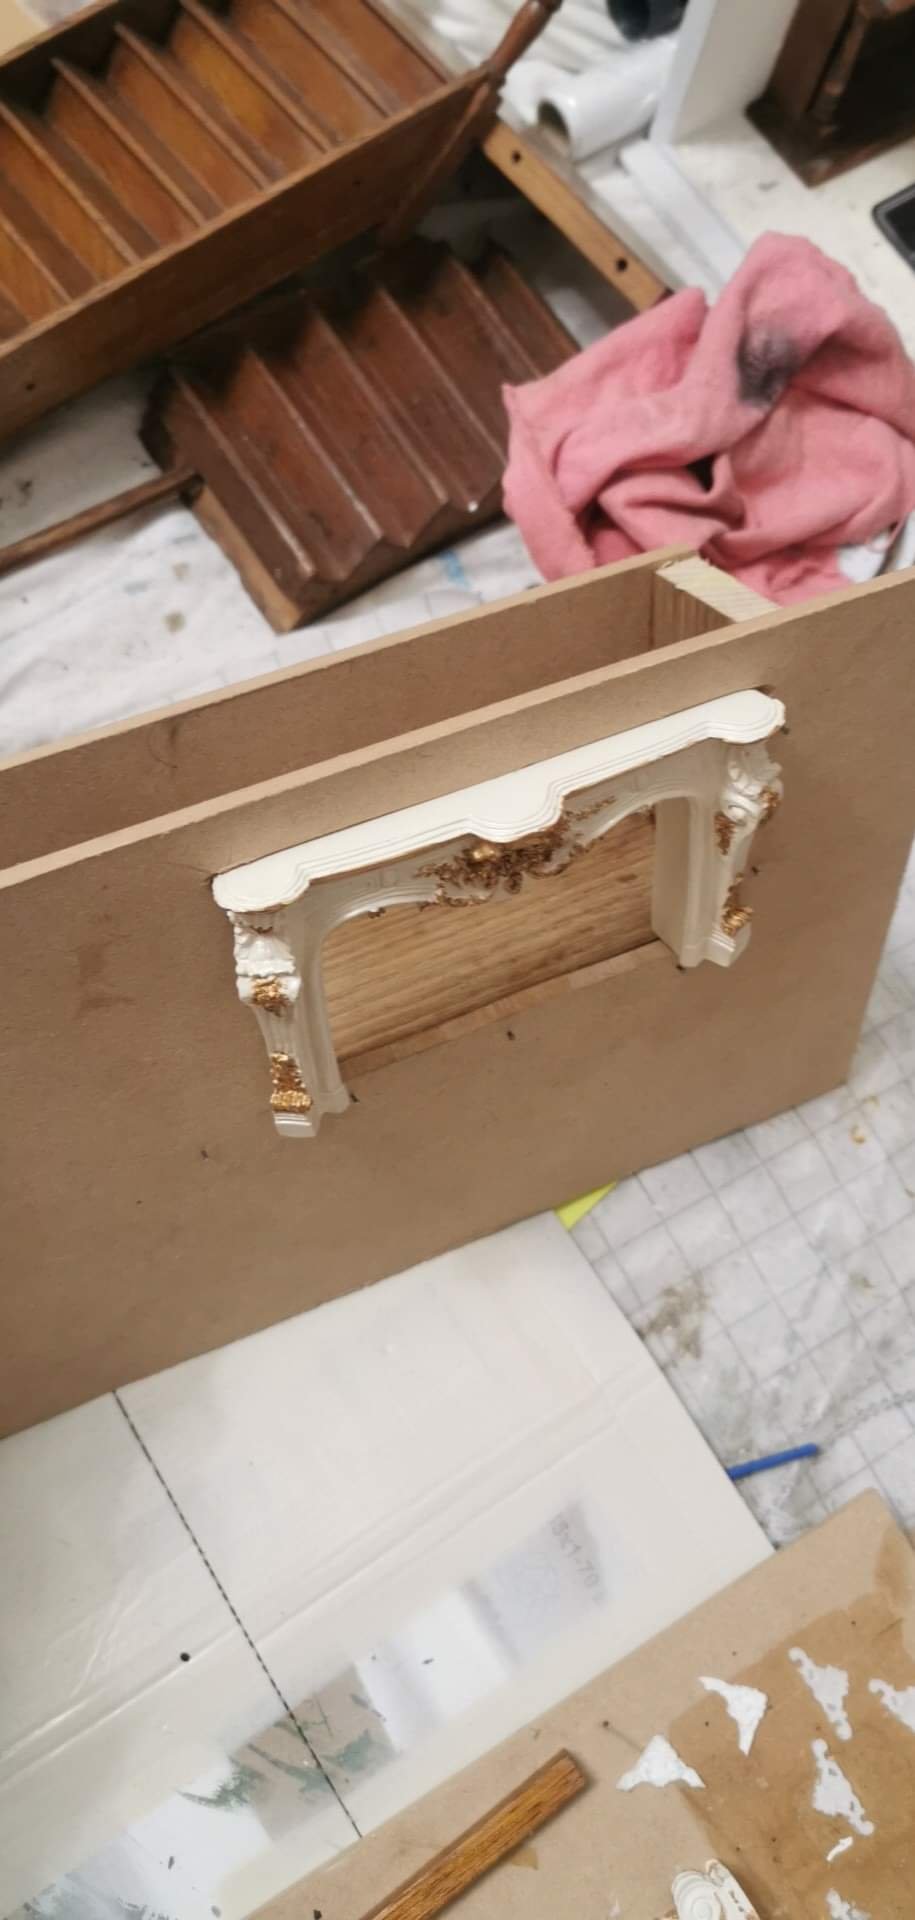
Building the side walls with viewing boxes
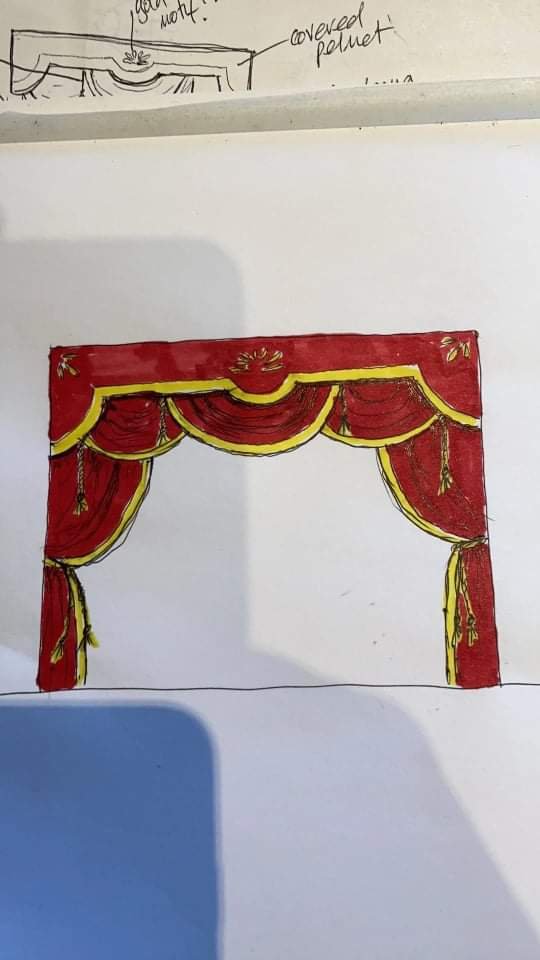
Curtain design
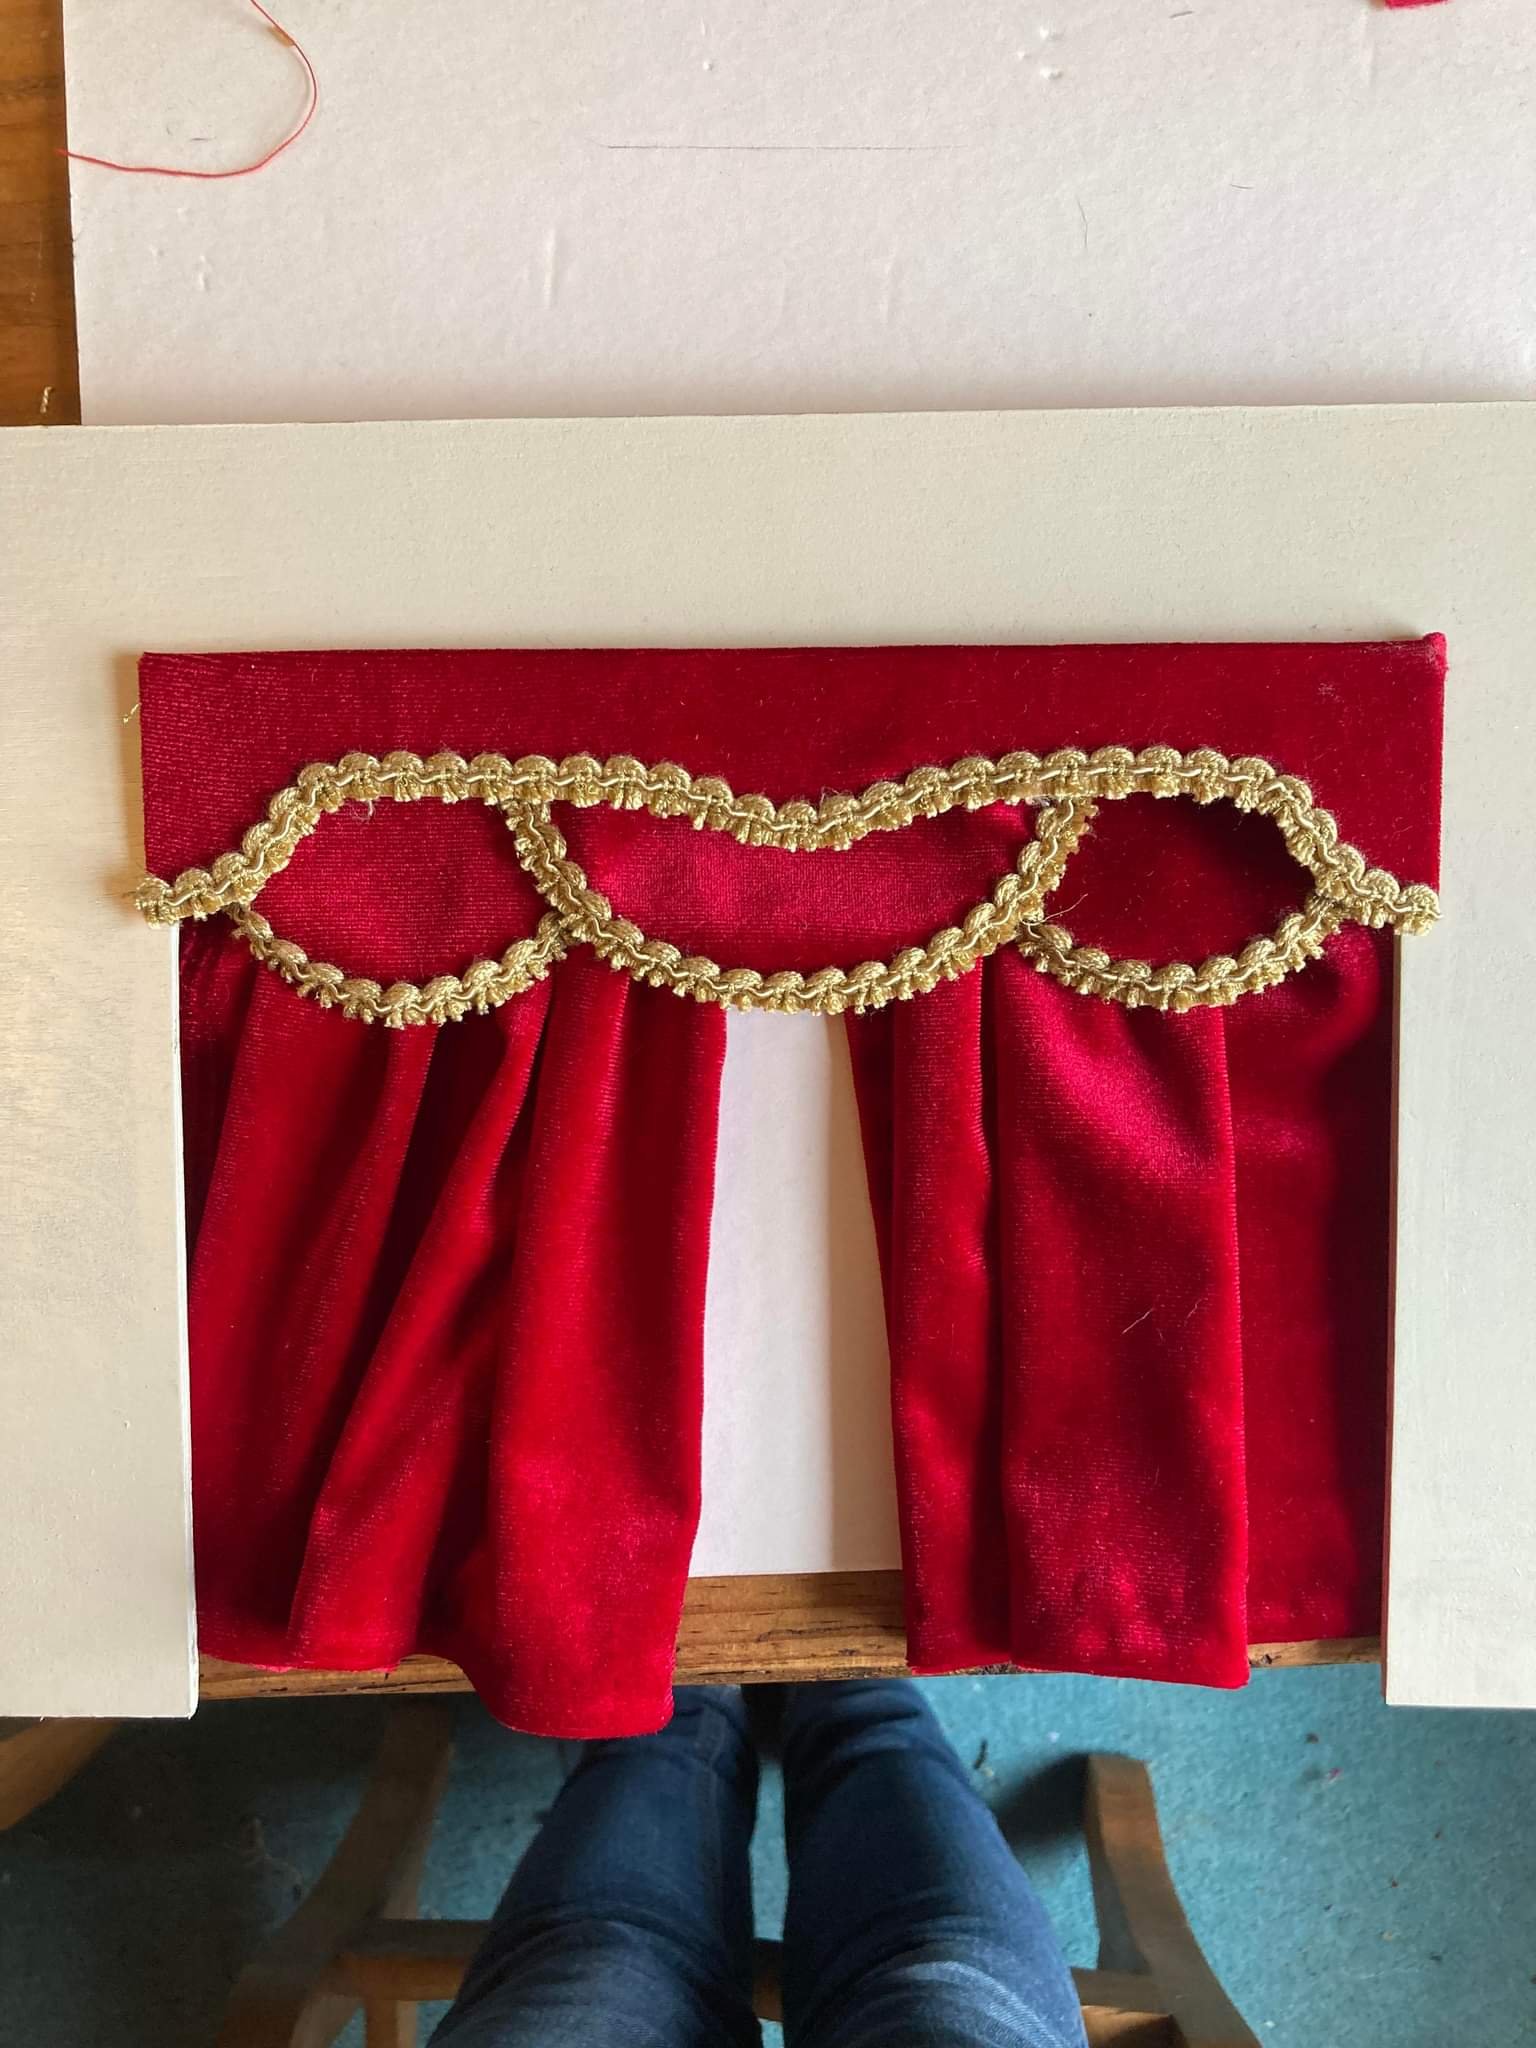
Early stages of the stage curtains
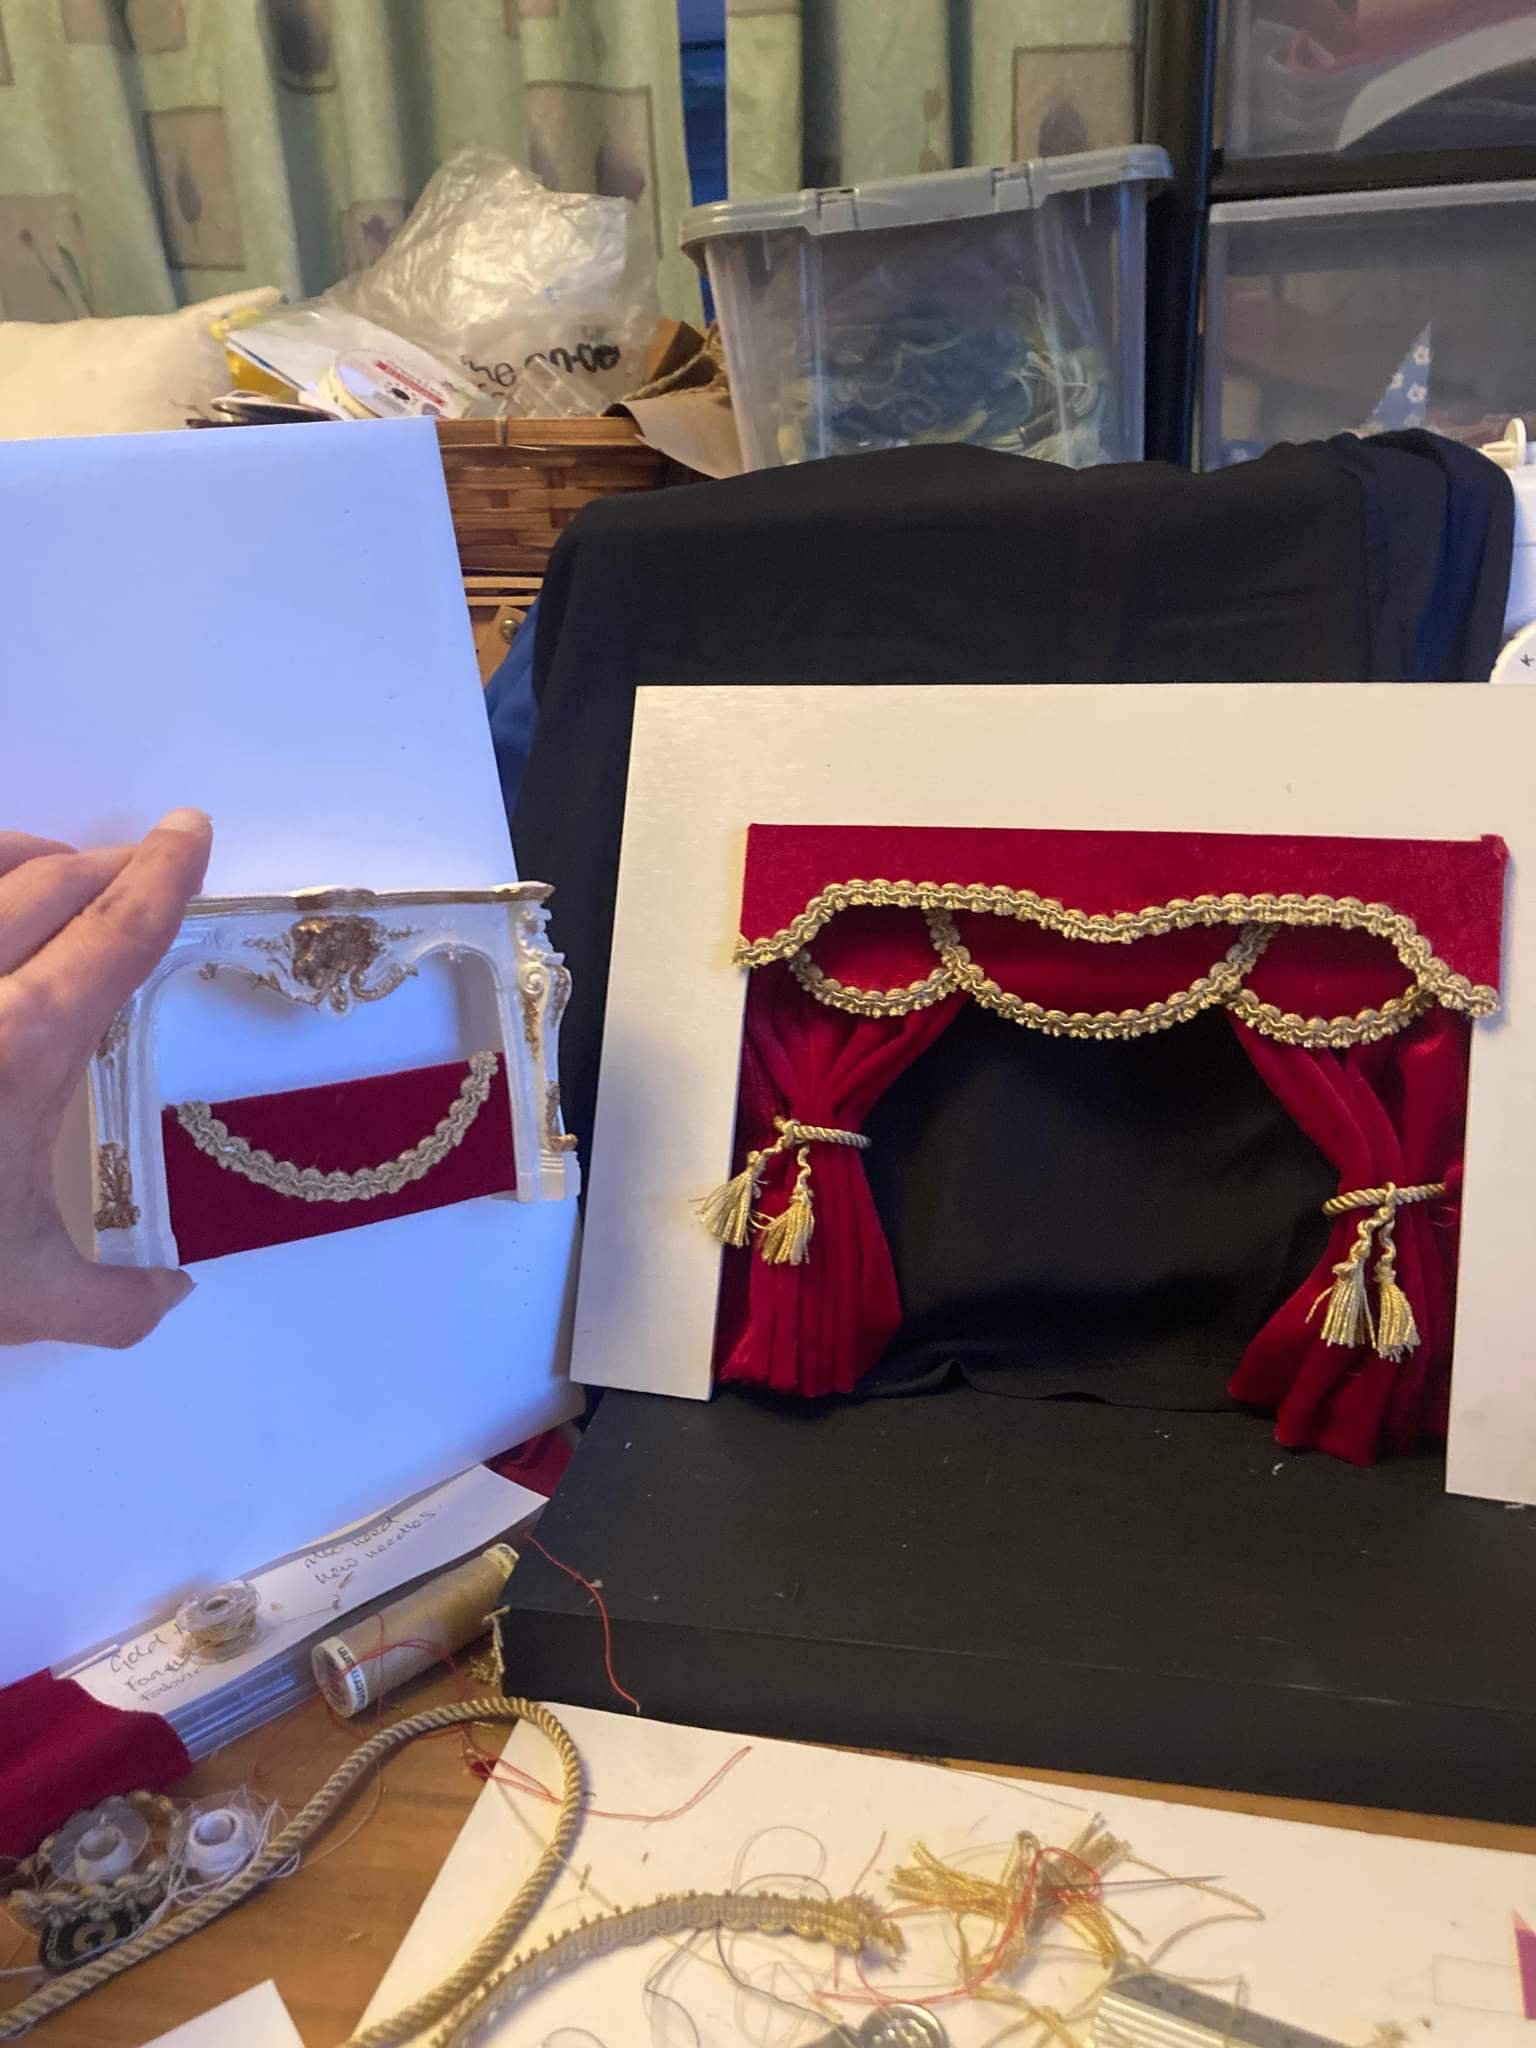
Completed curtains and detailing. Made in house by Rachel Rush - our go to for anything stitching related.
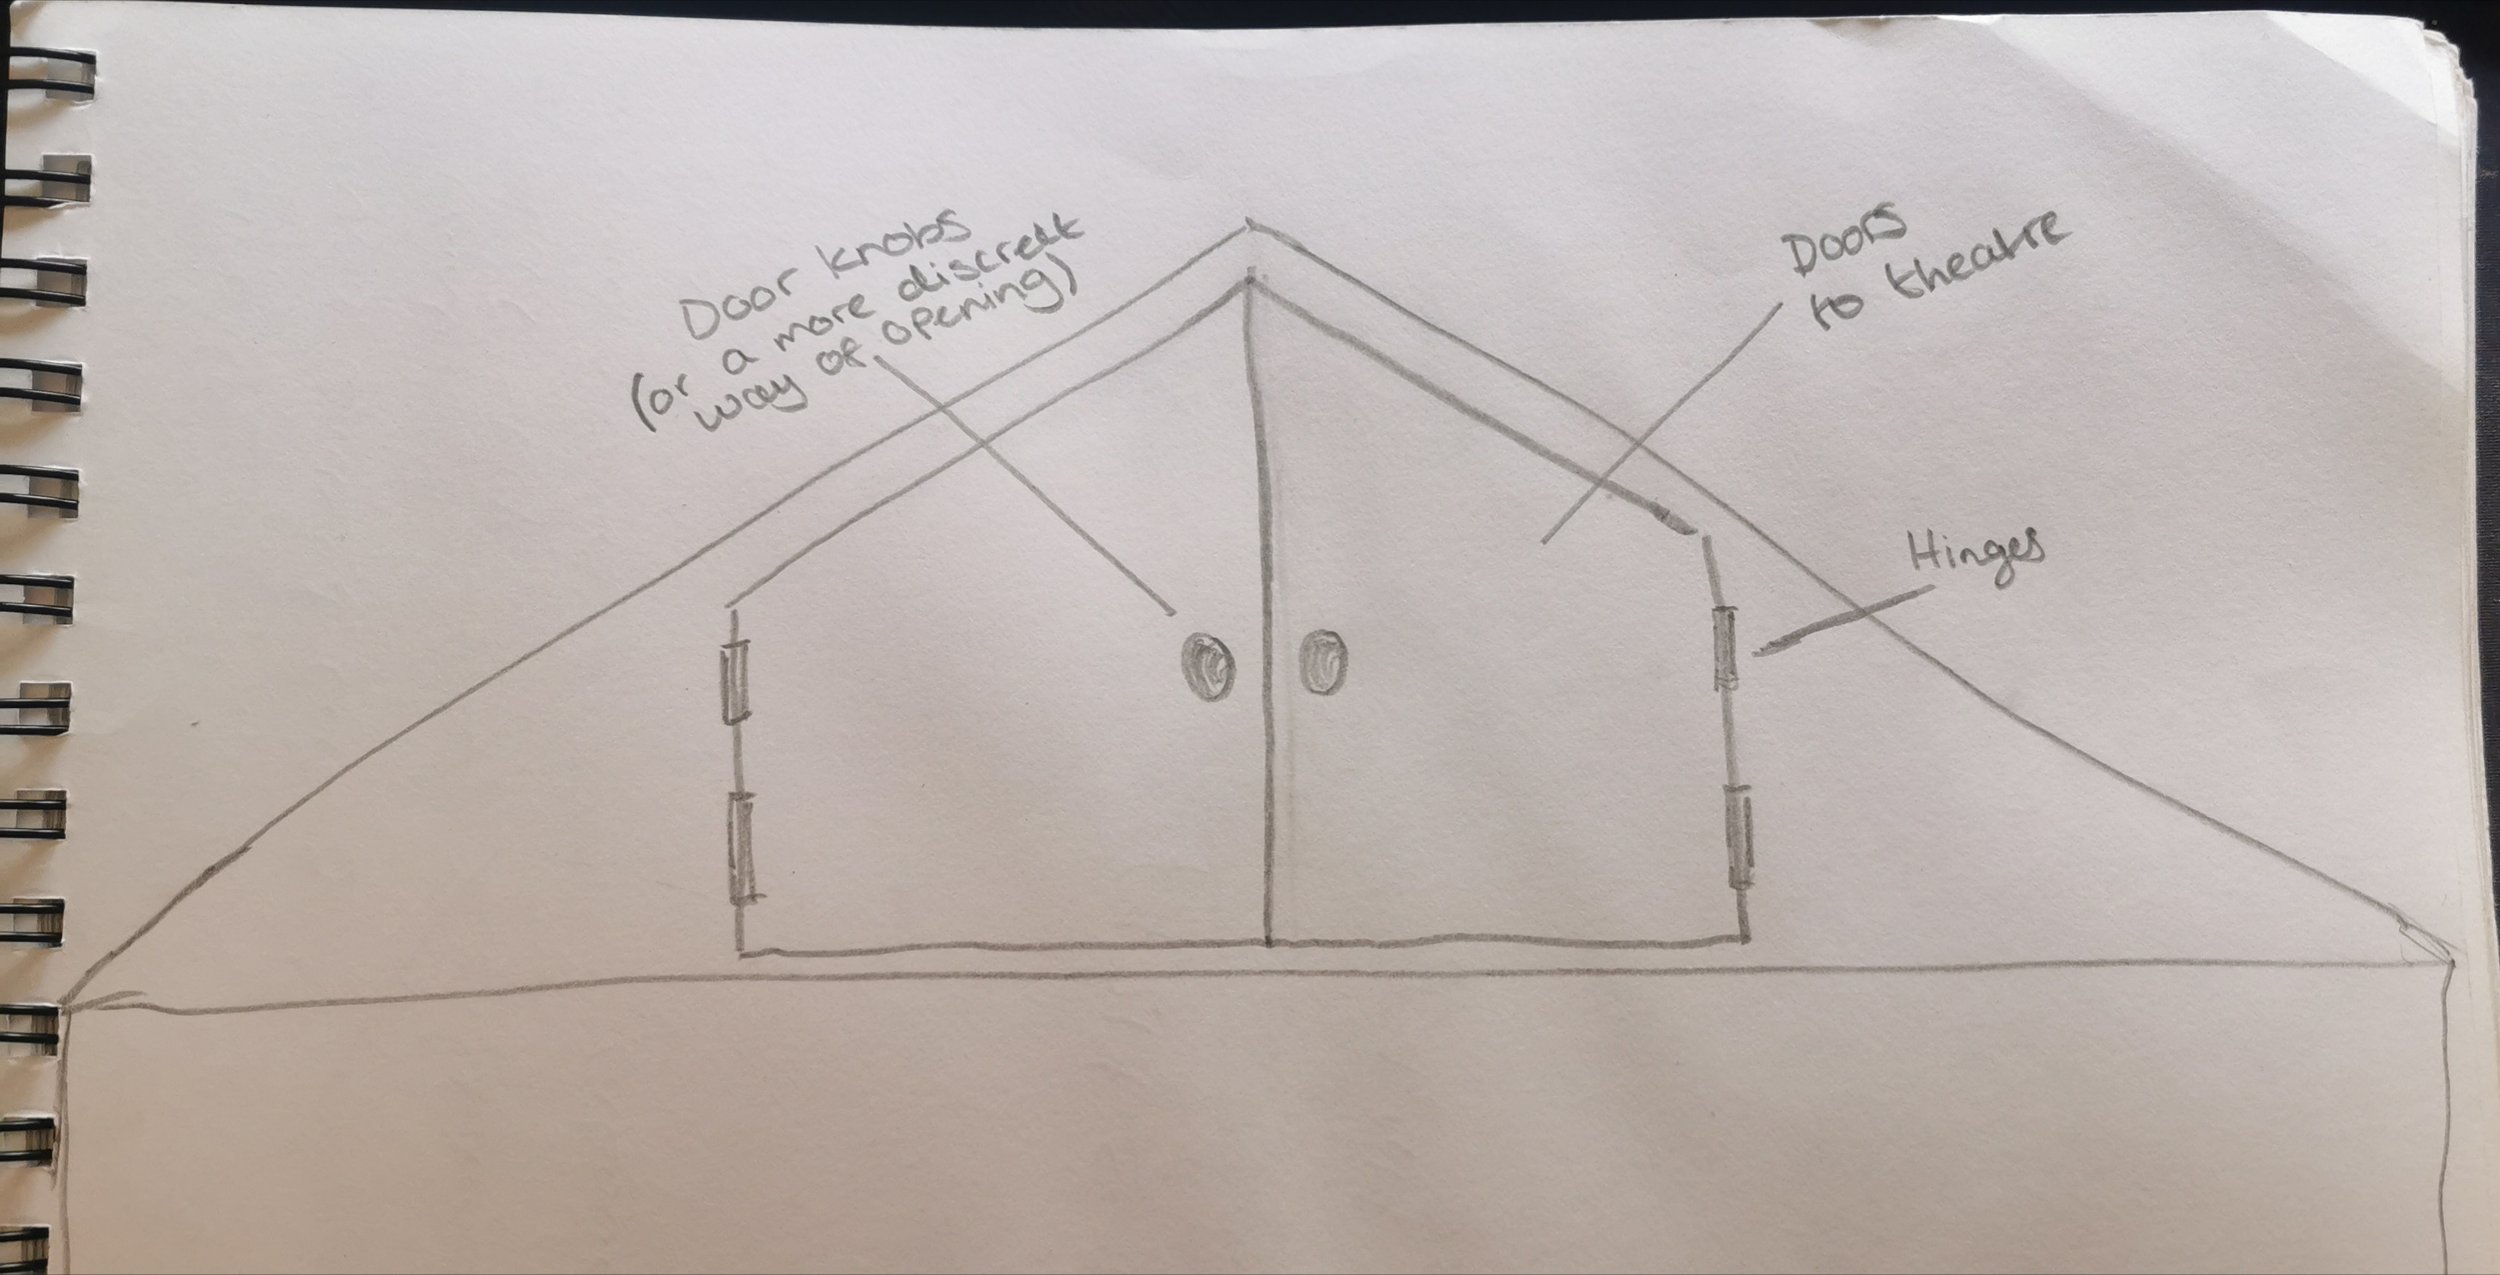
Early concept for how the theatre would be accessed
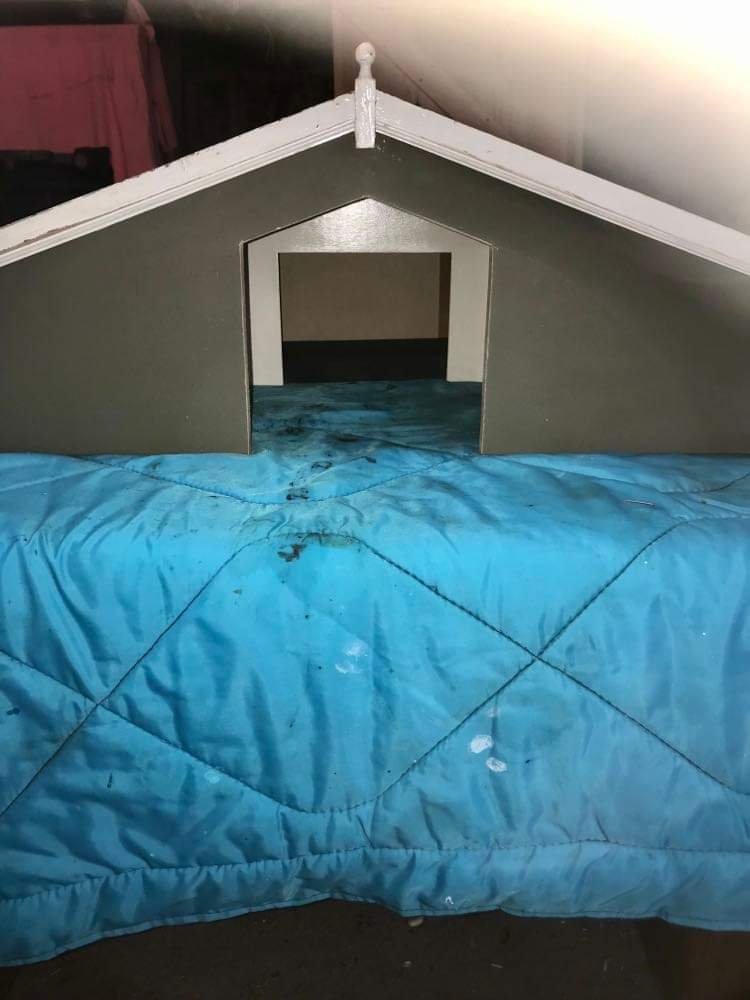
Cutting the hole to the theatre
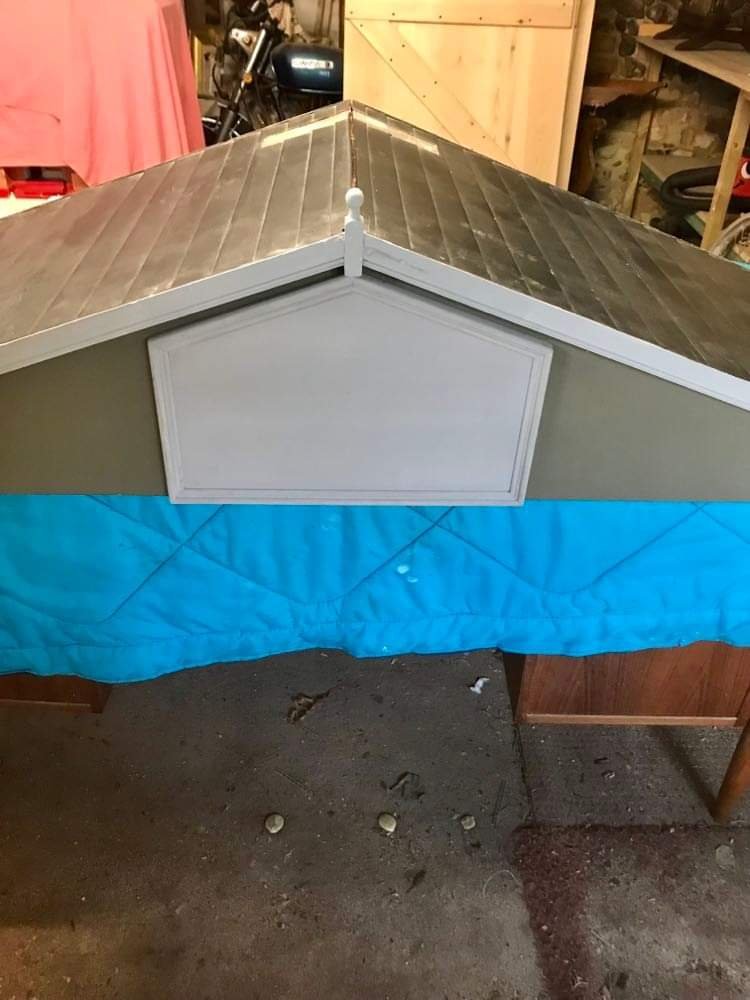
Rather than doors we opted for this decoration piece/panel instead. Attached with strong magnets in each corner, it conceals the theatre perfectly. You don't know its there until the panel is removed.
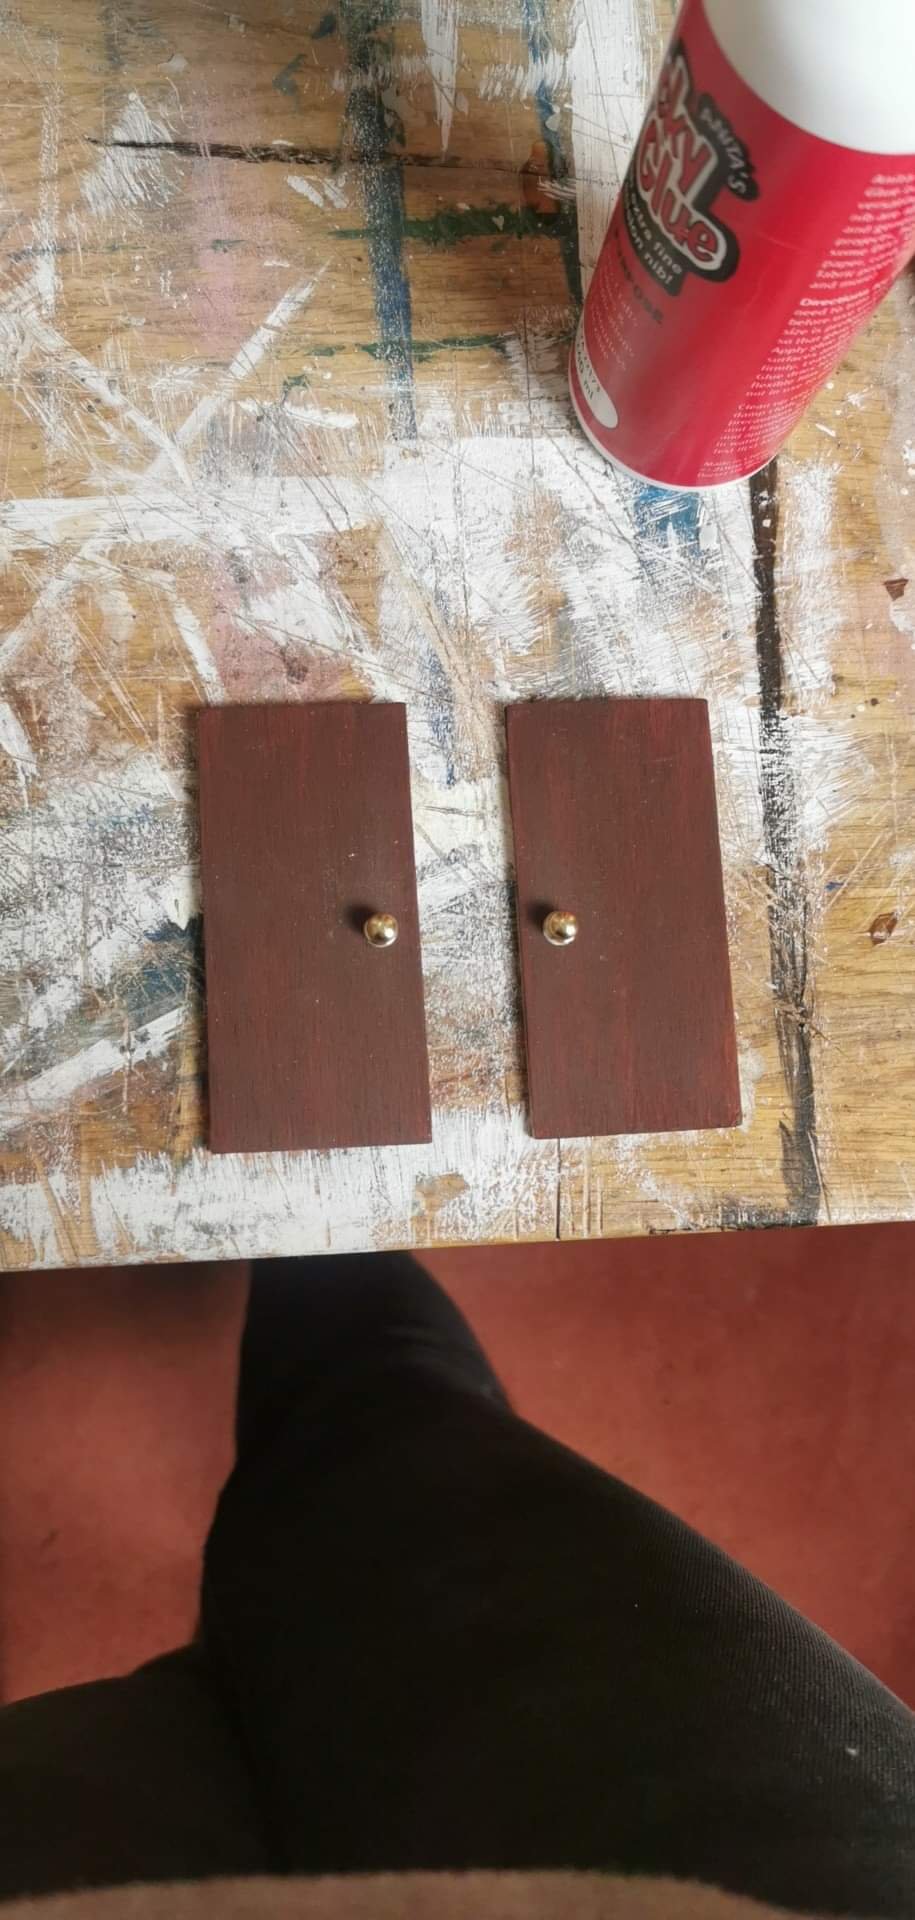
Making false doors for the viewing boxes.
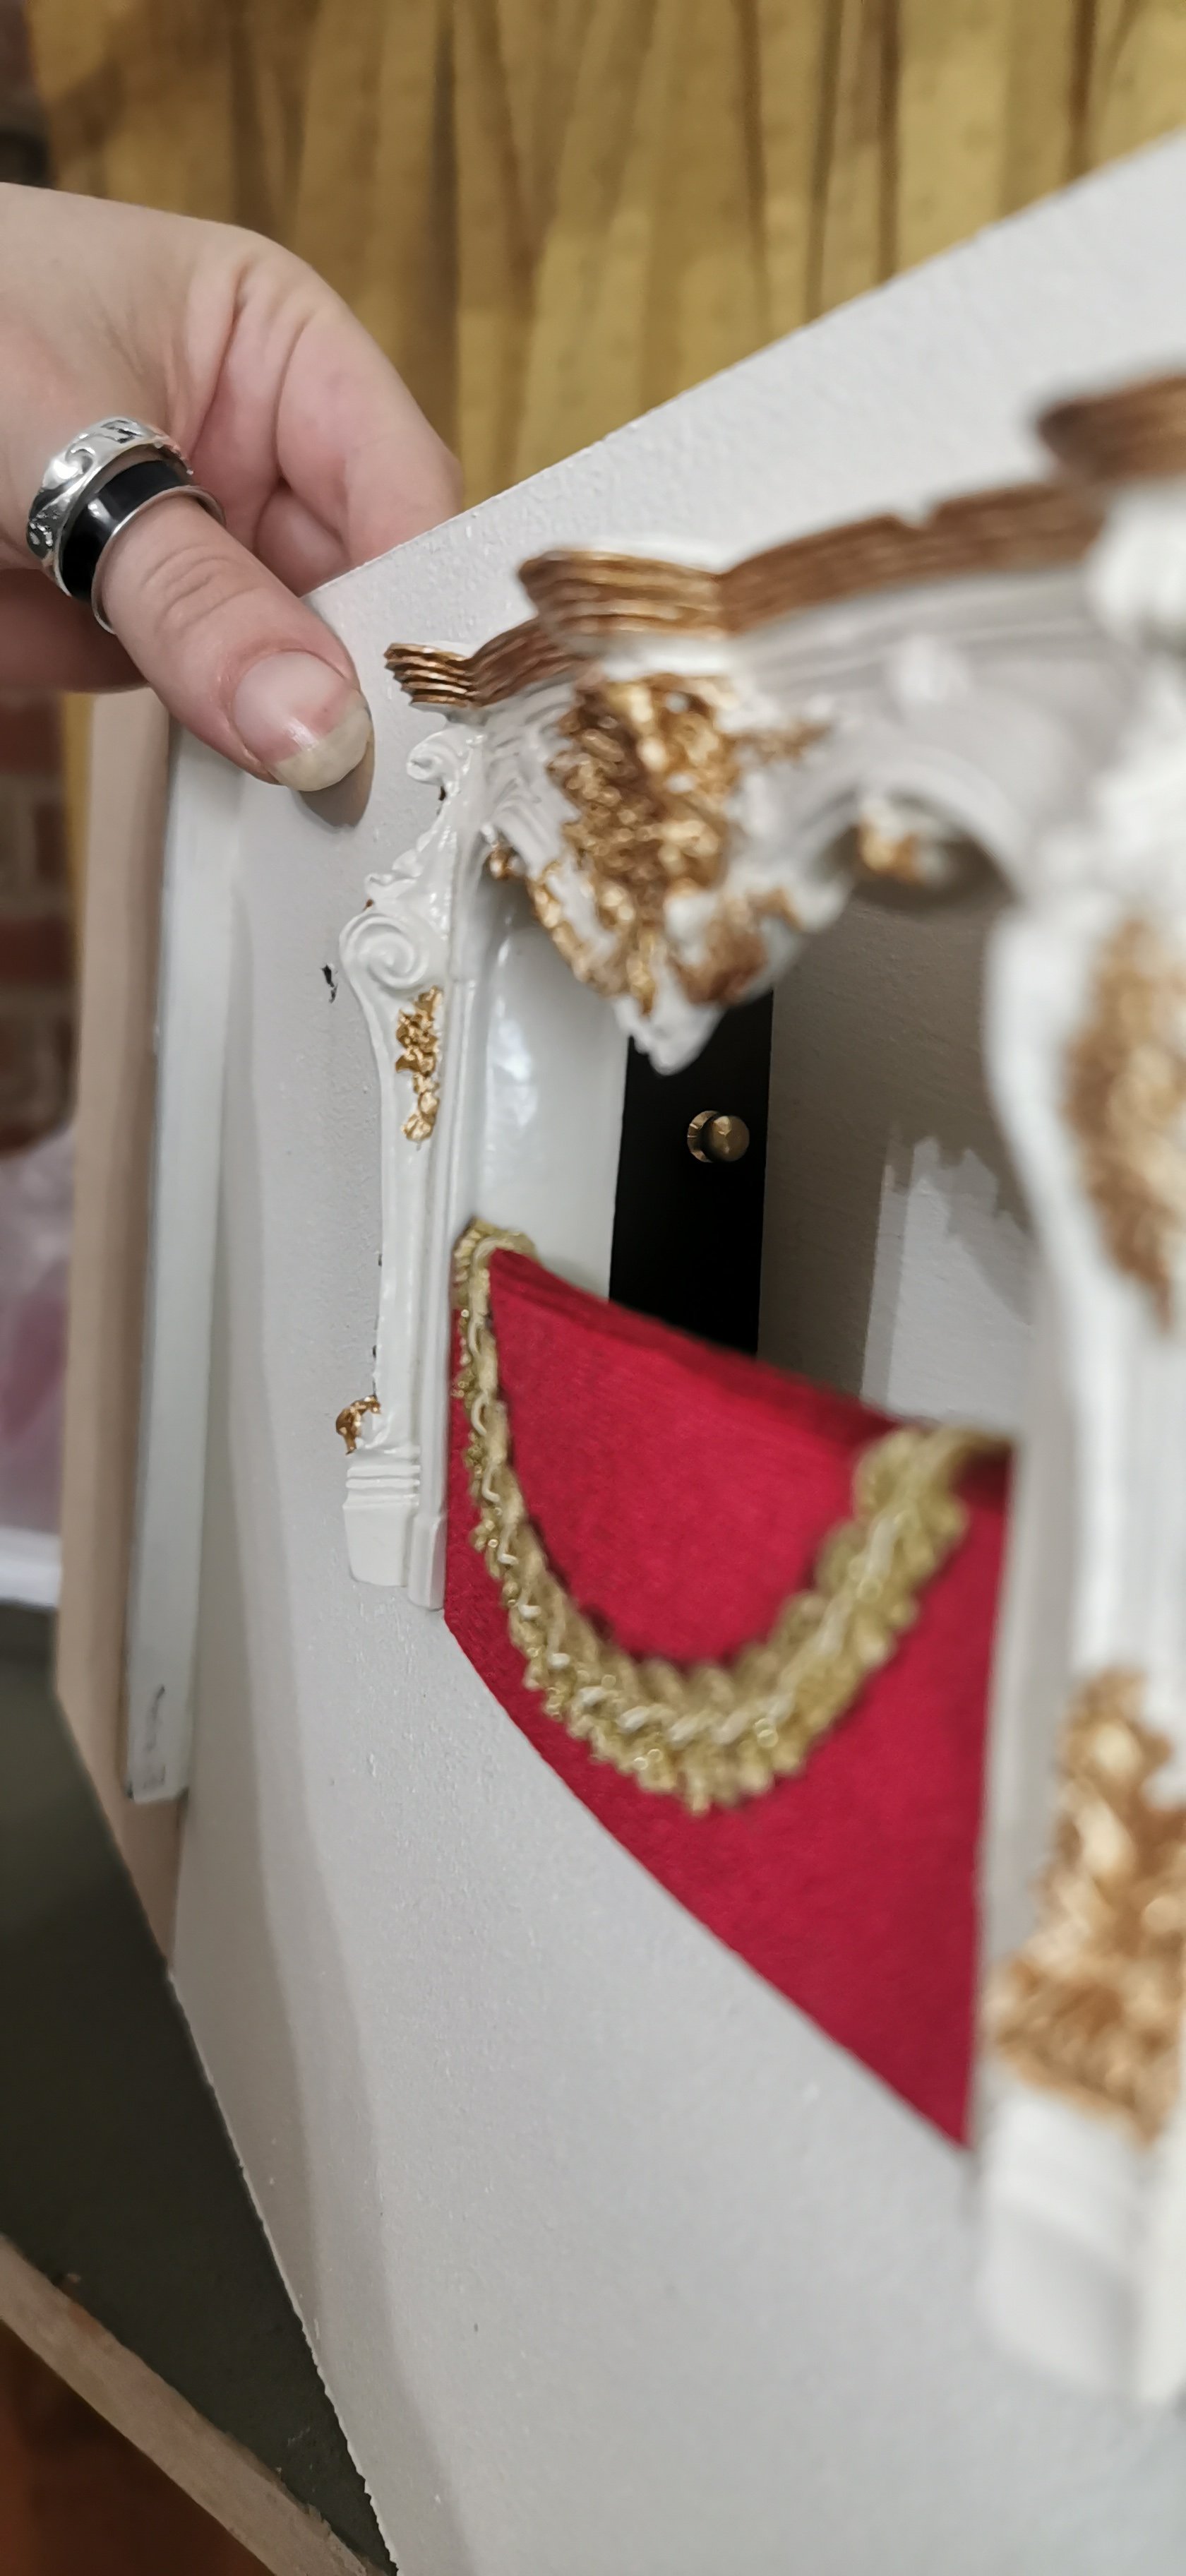
From most angles you can't see them, but they add a certain level of detail if you do peer in.

We kept the colour scheme a rather original gold, burgundy and ivory.
-

Bedroom 1
-

This wallpaper was a special request. We used the reference image given to us and recreated the design in-house using photoshop.
-

Bedroom 2
-

Both bedrooms were based on real rooms from a family home.


